
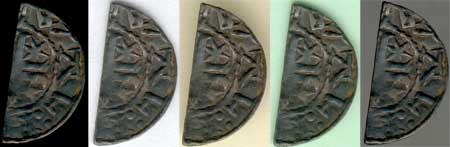
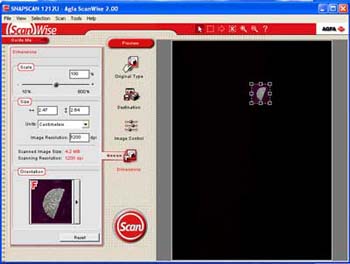
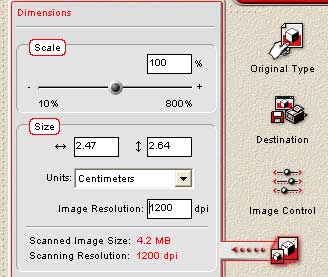
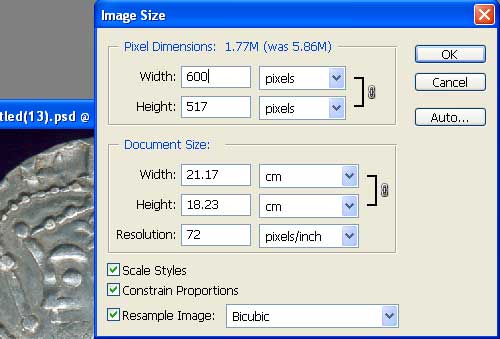
Using a scanner to scan your finds is one of the easiest ways of producing high quality images for use, when recording with UKDFD. Scanners can be purchased from around £50, and can achieve image quality to rival even the best digital cameras on the market. The main advantage of using a scanner to photograph finds, is that you shouldn't have a problem with incorrect depth of field (fuzziness of part of the image) which tends to plague macro photography. Or you could lay coloured paper directly on top of the find to give a contrasting background. The only problem with paper lying so close to the find is the resulting shadow. The last image on right (above) was scanned using the ICC method. An ICC (Ice-cream container) is placed over the find on the scanner. Because the ICC is sufficiently away from the object, no shadow is evident in the grey to white background produced. The lid up or ICC methods are probably the best methods for scanning three dimensional artefacts. The settings on the left are my typical settings for scanning most hammered coins. I set the resolution to 1200dpi to guarantee maximum detail in the raw image output. Press the Scan button to scan your find. Then repeat the previous steps to produce further images of your find, from different view points. Coins will need an image of both sides, obverse and reverse. Artefacts should be scanned from different angles, recording all relevant detail. Giving our identification team good images of your finds will assist in fast reliable identifications. Remember you can upload three images for each record you post. Re-sizing and converting to JPEG Open each image in your favourite photo editing software. Adjust brightness, contrast and crop the image, removing excess background. Add a scale to your image if needed and re-size your images keeping them large enough for our identification team to identify. Below is an example of my favourite size setting of 600 pixels at a screen resolution of 72dpi. As you can see on the left, each of the images below are under 15Kb, but are still physically large images (600 pixels high.)

If this is your first visit, please click the Sign Up now button to begin the process of creating your account so you can begin posting on our forums! The Sign Up process will only take up about a minute of two of your time.


User Tag List
Results 1 to 1 of 1
Thread: Scanning Tips
Threaded View
-
30-03-2014, 01:47 PM #1Administrator


- Join Date
- Aug 2005
- Posts
- 2,109
- Total Downloaded
- 0
- Points
- 0
- Mentioned
- 0 Post(s)
- Tagged
- 0 Thread(s)
Scanning Tips
It's worth taking a look at the tips on our website if you haven't already done so:
http://www.ukdfd.co.uk/pages/photography.html
http://www.ukdfd.co.uk/pages/scanning.html


 Reply With Quote
Thread Information
Users Browsing this Thread
There are currently 8 users browsing this thread. (0 members and 8 guests)
